Today, we’re diving deep into one of Unreal Engine 5’s most revolutionary features—Nanite technology. This powerful tool is here to change the game (quite literally) by allowing you to create hyper-detailed environments without sacrificing a drop of performance. Let’s unpack how you can harness the power of Nanite to bring extraordinary detail and realism to your projects.
What is Nanite in Unreal Engine 5?
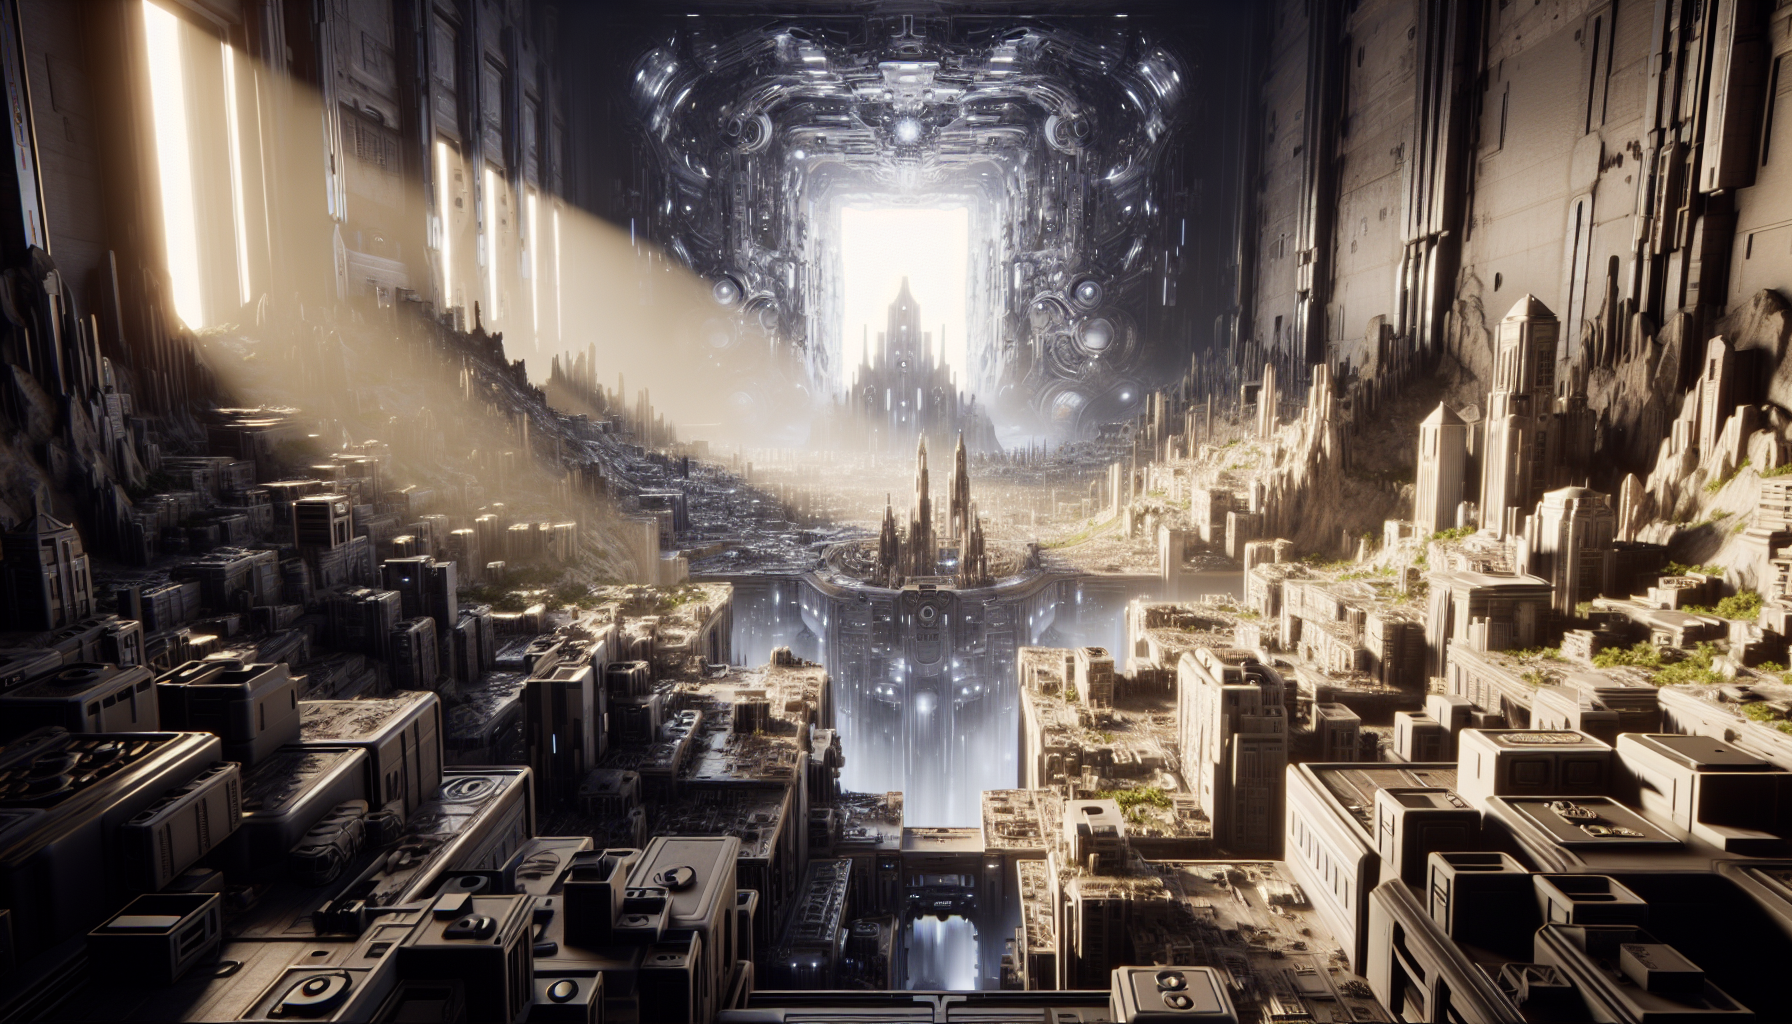
Imagine being able to sculpt a virtual world with the intricacy of a fine artist and the precision of an architect, all while keeping your performance smooth as silk. Nanite is Unreal Engine 5’s virtualized geometry system that enables you to create as much geometric detail as the eye can see. From vast cities to the smallest grains of sand, Nanite lets your creations come to life with an unprecedented level of detail.
Why Nanite? The Power of Virtualized Geometry
Before Nanite, the more complex your models, the heavier the load on your hardware, often resulting in slower frame rates and a less responsive experience. Nanite changes this by efficiently streaming and processing only the details you see in the viewport, essentially making game worlds more dynamic and realistic without the traditional overhead.
Getting Started with Nanite
Step 1: Importing Your Assets
To begin, you’ll need high-resolution mesh assets. Unreal Engine 5 can handle incredibly detailed models, so don’t shy away from complexity.
- Open Unreal Engine 5 and navigate to the ‘Content Browser’.
- Import your mesh by dragging and dropping it into the browser or using the ‘Import’ button.
- Once imported, select your mesh asset and look at its details in the ‘Details’ panel.
Step 2: Enabling Nanite
To activate Nanite on your mesh:
- In the ‘Details’ panel under the mesh settings, you will find an option labeled ‘Nanite Settings’.
- Check the box that says ‘Enable Nanite’ and save your asset.
It’s that simple—Nanite is now working to optimize this mesh in your scene.
Step 3: Fine-Tuning Your Scene
With Nanite enabled, it’s time to see the magic happen:
- Drag your optimized mesh into the viewport.
- Duplicate the object a few times and arrange them around your scene to start building out your environment.
Notice how Unreal handles these instances with ease, maintaining a high frame rate despite the high detail level.
Tips for Optimizing with Nanite
While Nanite is incredibly powerful, here are a few tips to get the most out of it:
- LOD (Level of Detail) Management: Even though Nanite handles detail at scale, setting up proper LODs can further enhance performance, especially at varying distances.
- Asset Preparation: Ensure your meshes are clean and optimized before importing them into UE5. This means removing unnecessary polygons and ensuring your UVs are well laid out.
- Testing on Target Hardware: Always test your scenes on the hardware you intend to deploy on to understand how Nanite behaves in different environments.
Seeing is Believing
The real test is in the viewing. Hit ‘Play’ and navigate through your scene. Observe the seamless detail and how smoothly everything runs. With Nanite, your creative possibilities have just broadened, enabling you to add more to your scenes than ever before.
The Future is Detailed
Nanite is not just a tool; it’s a paradigm shift in how we think about creating and interacting with virtual environments. By breaking the traditional barriers of polygon budgets, Nanite allows artists and developers to dream bigger and craft more detailed, dynamic worlds without the fear of performance drops.
Unreal Engine 5’s introduction of Nanite is a testament to the future of game development and digital content creation. It empowers you to create more detailed, immersive, and dynamic worlds than ever before. So, go ahead, push the limits of detail in your next project, and let Nanite handle the heavy lifting. What world will you build now that you can truly let your imagination run wild?
