Creating cinematic sequences in Unreal Engine often requires a delicate blend of art and technology. One of the key elements in bringing dynamic and immersive visual storytelling to life is the use of a camera rig, particularly one that follows a predetermined path.
Whether you’re orchestrating a dramatic chase scene or a gentle sweep across a tranquil landscape, setting up your camera rig path and length correctly is crucial for capturing the perfect shot. Here’s how you can master this setup in Unreal Engine.
Step 1: Selecting the Right Camera Rig
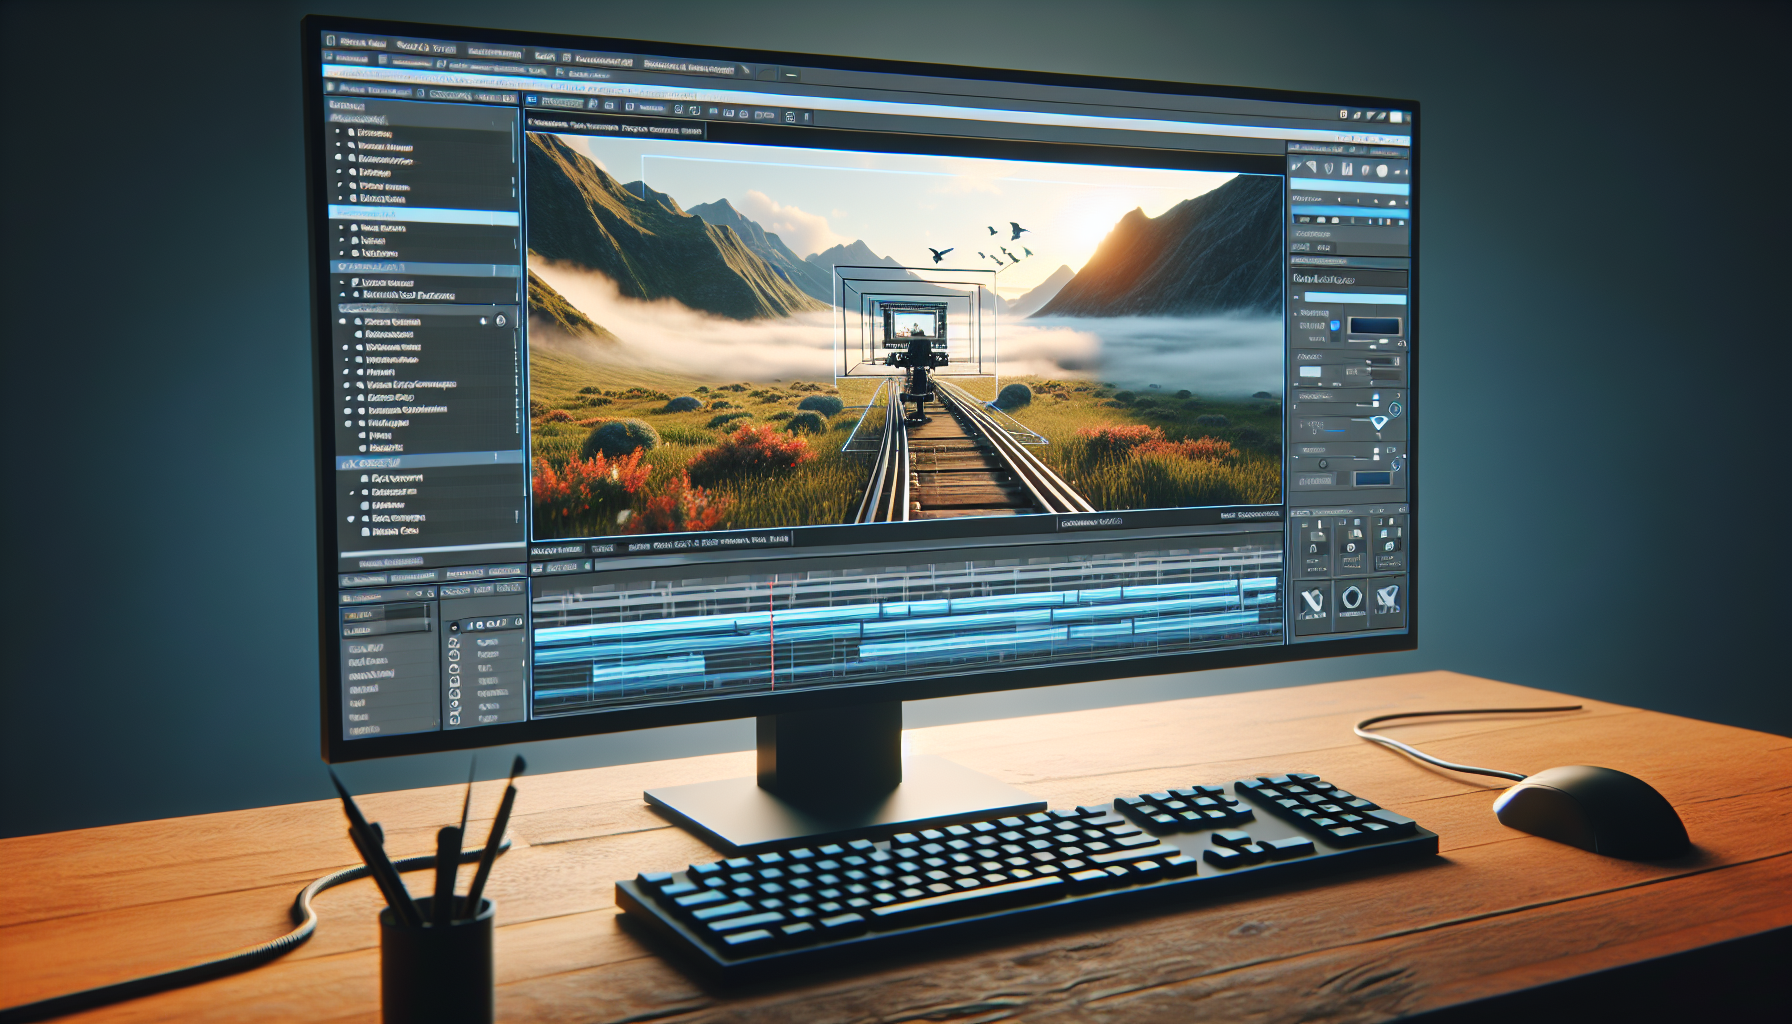
Unreal Engine offers various types of camera rigs, but for most path-based movements, the Cine Camera Rig Rail is typically the most suitable. This rig allows the camera to travel along a track, making it ideal for smooth, linear movements that can be controlled with precision.
Step 2: Placing the Camera Rig in Your Scene
- Add the Rig to Your Scene:
- In the Unreal Editor, go to the Modes panel, and under the Cinematic category, find the Cine Camera Rig Rail.
- Drag and drop the rig into your scene. This action places both a camera and a rail (track) into your scene.
- Adjust the Position:
- Select the rig in your viewport or from the World Outliner.
- Move the rig to the desired starting point of your shot. You can use the translation tools (move, rotate) to position the rig precisely where you need it.
Step 3: Configuring the Path (Rail)
- Extend the Rail:
- With the rail selected, go to the Details panel in the Unreal Editor.
- Find the option for adjusting the Length of the rail. This setting determines how long the camera can travel along the track.
- Set the length according to the needs of your shot. Longer rails are necessary for shots that cover more distance.
- Shape the Path:
- If your shot requires the camera to follow a specific path that isn’t perfectly straight, you may need to use multiple rail segments or adjust the rail’s path manually.
- You can add more complexity to the path by using spline tools in Unreal Engine to curve or bend the rail, adapting it to the contours of your scene.
Step 4: Attaching and Setting Up the Camera
- Attach the Camera:
- Ensure the camera is properly attached to the rig. In most cases, dragging the rig into the scene will automatically attach a camera to it.
- If you need to attach a different camera or reattach it, simply parent the camera to the rig in the World Outliner by dragging the camera onto the rig’s name.
- Configure Camera Settings:
- Select the camera attached to the rig.
- In the Details panel, adjust camera settings such as focal length, aperture, and focus distance to suit the cinematic look you’re aiming for.
Step 5: Animate the Camera Along the Path
- Open the Sequencer:
- If not already open, create or open a sequence in the Sequencer.
- Ensure your camera rig and camera are included in the sequence. If not, add them by dragging the camera from the World Outliner into the sequencer.
- Keyframe the Movement:
- Move the timeline scrubber to the start of your sequence.
- With the camera rig selected in the sequencer, move the camera to the starting position on the rail and click the Keyframe button to keyframe the position.
- Move the scrubber to where you want the movement to end, reposition the camera to the end of the rail, and keyframe the new position.
Conclusion: Mastering the Art of Camera Movement
By setting up your camera rig path and length properly in Unreal Engine, you can achieve cinematic camera movements that elevate the storytelling potential of your project.
Whether it’s capturing high-speed action or slow, contemplative reveals, the control you have over the camera’s path and speed allows you to direct with precision, turning simple scenes into memorable cinematic moments.
