Welcome back, aspiring app moguls, to our thrilling series on mastering Xcode and Swift. Last time, we dipped our toes into the world of app development by installing Xcode and setting up a developer account. Today, we’re plunging into the deep end: navigating Xcode itself. Grab your sense of humor and maybe a lifeboat, because this is where the fun begins.
The Xcode Interface: A Tour of the Command Center
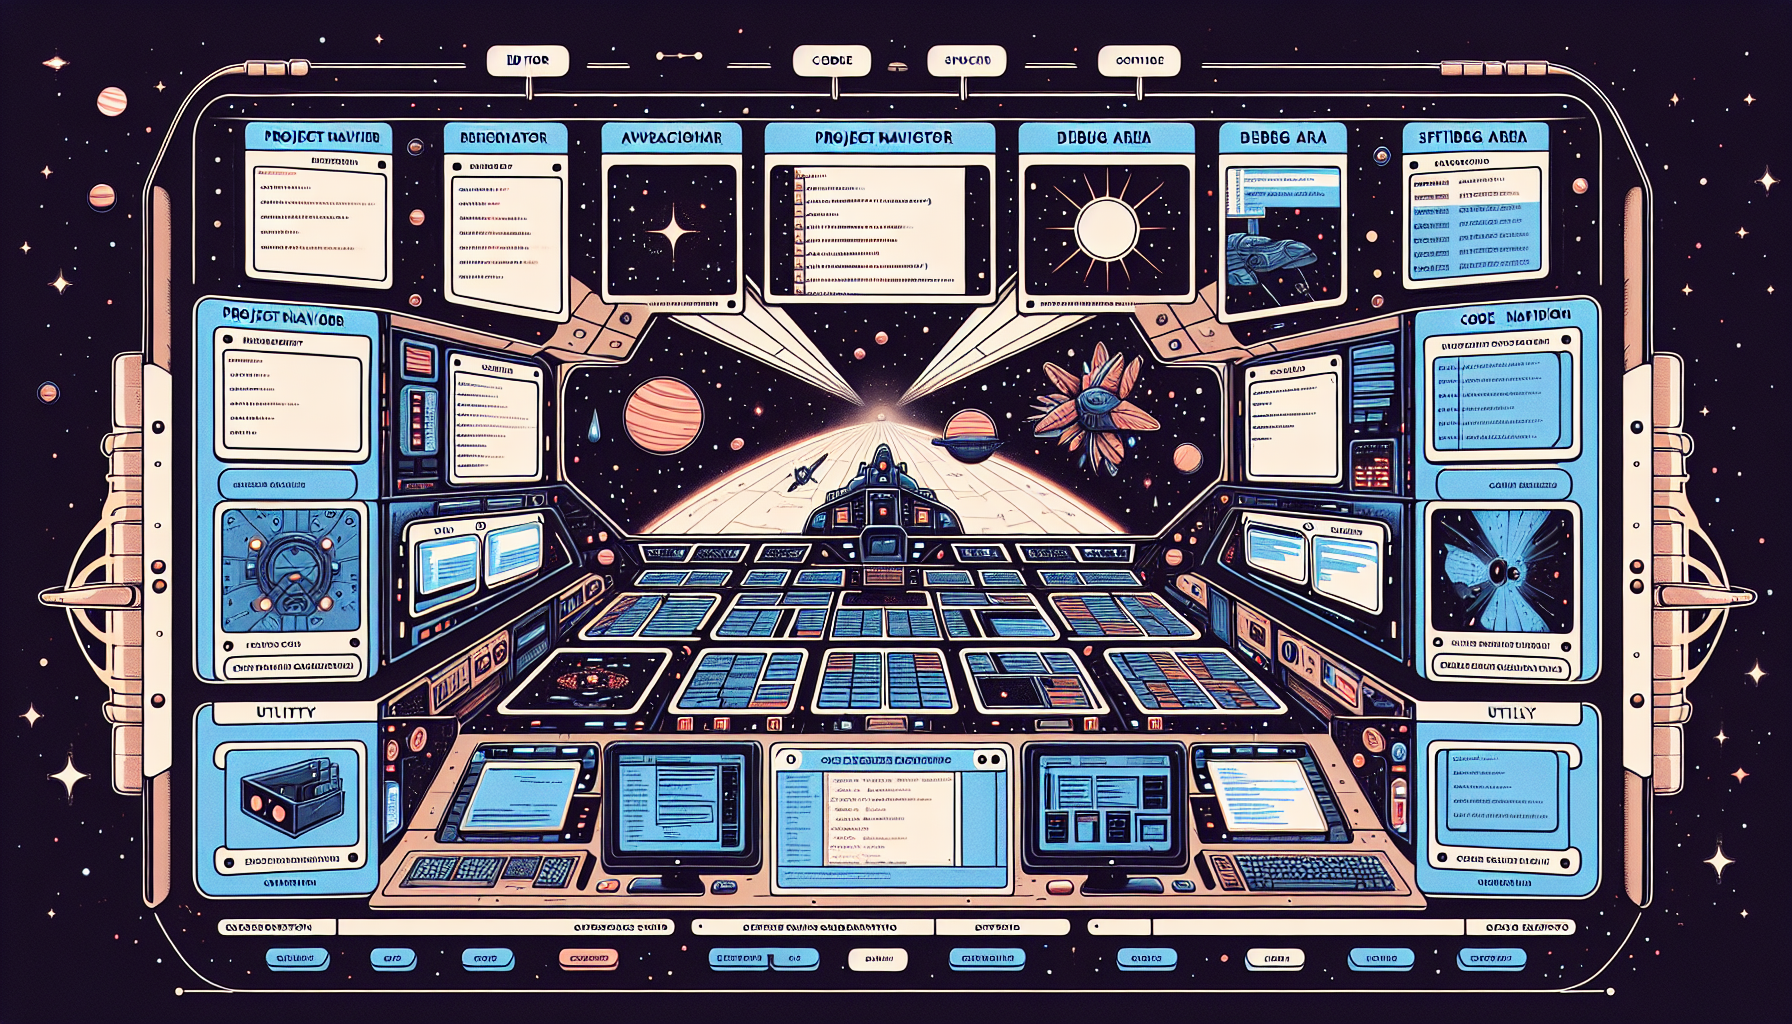
Imagine you’ve just been promoted to captain of a spaceship, and Xcode is your new bridge. It’s packed with features, buttons, and panels that might make you wonder if you accidentally signed up for astronaut training. But fear not—we’re going to demystify this behemoth together.
- Project Navigator
- What It Is: The Project Navigator is the command center of your app. It’s where all your files and resources hang out, like that overstuffed closet you keep meaning to organize.
- Where to Find It: On the left-hand side of your Xcode window. If you can’t see it, click the folder icon at the top to reveal it.
- Why It Matters: This is your starting point for accessing all your project files. If it were any more essential, it’d be asking for a raise.
- Editor Area
- What It Is: This is your canvas, where you’ll write and edit your code. If the Project Navigator is the command center, this is the engine room—minus the grease.
- Where to Find It: In the center of your Xcode window. This is where you’ll spend most of your time, staring and occasionally typing.
- Why It Matters: This is where the magic happens. Your app’s functionality comes to life through the lines of code you write here. Or, you know, where you debug your mistakes.
- Debug Area
- What It Is: The Debug Area is your personal Sherlock Holmes. When your app decides to throw a fit and crash, this area helps you deduce why.
- Where to Find It: At the bottom of your Xcode window. If it’s not visible, click the debug button (it looks like a speech bubble).
- Why It Matters: It shows you error messages and allows you to inspect variables. Think of it as your CSI lab, minus the dramatic lighting.
- Utility Area
- What It Is: Your trusty Swiss Army knife. This area provides quick access to properties, settings, and resources you’ll frequently use—like a drawer full of takeout menus.
- Where to Find It: On the right-hand side of your Xcode window. Click the slider button at the top to show or hide it.
- Why It Matters: This is where you can tweak the properties of your UI elements and access helpful libraries and tools. It’s like having a mini Home Depot right in your IDE.
Creating Your First Xcode Project
Now that you’re acquainted with the Xcode interface, let’s put it to use. We’re going to create a simple project to get our feet wet. Think of it as your first solo flight—assuming you’re okay with the possibility of crash landing.
- Open Xcode
- Launch Xcode from your Applications folder or dock. You’ll be greeted with a welcome window. Smile back at it; it’s the least you can do.
- Create a New Project
- Click on “Create a new Xcode project”. You’ll see a variety of templates. For now, select the “App” template under the “iOS” section. Resist the urge to pick something fancy; we’re keeping it simple.
- Name Your Project
- Give your project a name. Something straightforward, like “FirstApp”. Choose Swift as the language, and make sure the “User Interface” is set to “Storyboard”. No need to get creative just yet.
- Choose a Location
- Select a location on your Mac to save your project. Click “Create”, and just like that, you’ve started your first Xcode project! (Cue the sarcastic applause.)
Running Your First App
Let’s see this masterpiece in action. Running your app on the simulator is the next step, akin to launching a prototype spaceship—without the risk of actual explosions.
- Select a Simulator
- In the top toolbar, you’ll see a device menu. Select a simulator device, like the iPhone 14 Pro. This will mimic the device on which your app will run. It’s like having a crash test dummy for your app.
- Run Your App
- Click the run button (it looks like a play button). Xcode will build your app and launch it in the simulator. After a brief moment, your app will appear. It’s a blank screen, but hey, it’s your blank screen.
The Journey Continues
Congratulations, you’ve successfully navigated the confusing seas of the Xcode interface and launched your first app. Sure, it’s a humble beginning, but every great journey starts with a single step—or in this case, a single blank screen.
In future posts, we’ll dive into writing Swift code, designing user interfaces, and adding functionality to your app. For now, take a moment to savor your accomplishment. You’ve just taken a significant step towards becoming an app developer, even if your app is currently about as exciting as a bowl of plain oatmeal.
Stay curious, stay determined, and remember: even the most intricate apps started with a single line of code. Happy coding!
