Welcome to the dazzling world of the Deferred Renderer in Unreal Engine 5, where the graphics are lush and the lights are plentiful. If the Forward Shading Renderer is the sprightly sprinter of Unreal’s rendering options, then the Deferred Renderer is the robust marathon runner, equipped with a utility belt full of tools for tackling complex scenes with aplomb. Buckle up, as we explore this visual powerhouse and how it can elevate your project from “meh” to “magnificent!”
What is the Deferred Renderer?
Imagine a chef meticulously preparing each component of a dish before combining them all at the end to create a culinary masterpiece. The Deferred Renderer works similarly, handling lighting and shading calculations separately and deferring them until all geometric information has been gathered. This allows for a buffet of dynamic lighting and special effects, all rendered with a precision that makes even the most chaotic scenes look harmonious.
Why Flex with Deferred Rendering?
- Lighting Galore: This renderer thrives in the spotlight—literally. You can throw dozens, even hundreds, of dynamic lights into a scene, and the Deferred Renderer will handle them without breaking a sweat.
- Advanced Effects: From realistic reflections to intricate shadow plays, this renderer enables a plethora of sophisticated graphical effects that can make your scenes as rich and detailed as a triple-layer chocolate cake.
- Optimal for High-End Devices: If your audience boasts the latest in hardware tech, the Deferred Renderer allows you to harness that power, delivering stunning visuals that push the boundaries of digital artistry.
Setting Up the Deferred Renderer
- Enable Deferred Shading: Dive into your project settings like a detective on a clue hunt. Under the Rendering section, ensure that Deferred Shading is selected as your default rendering method.
- Configure Lighting: With great power comes great responsibility—especially regarding lighting setup. Optimize your scene lighting to take full advantage of the renderer’s capabilities.
- Tweak Quality Settings: Adjust the quality settings to strike the right balance between visual fidelity and performance. Each project is unique, so what works for one might not work for another.
When to Use Deferred Rendering
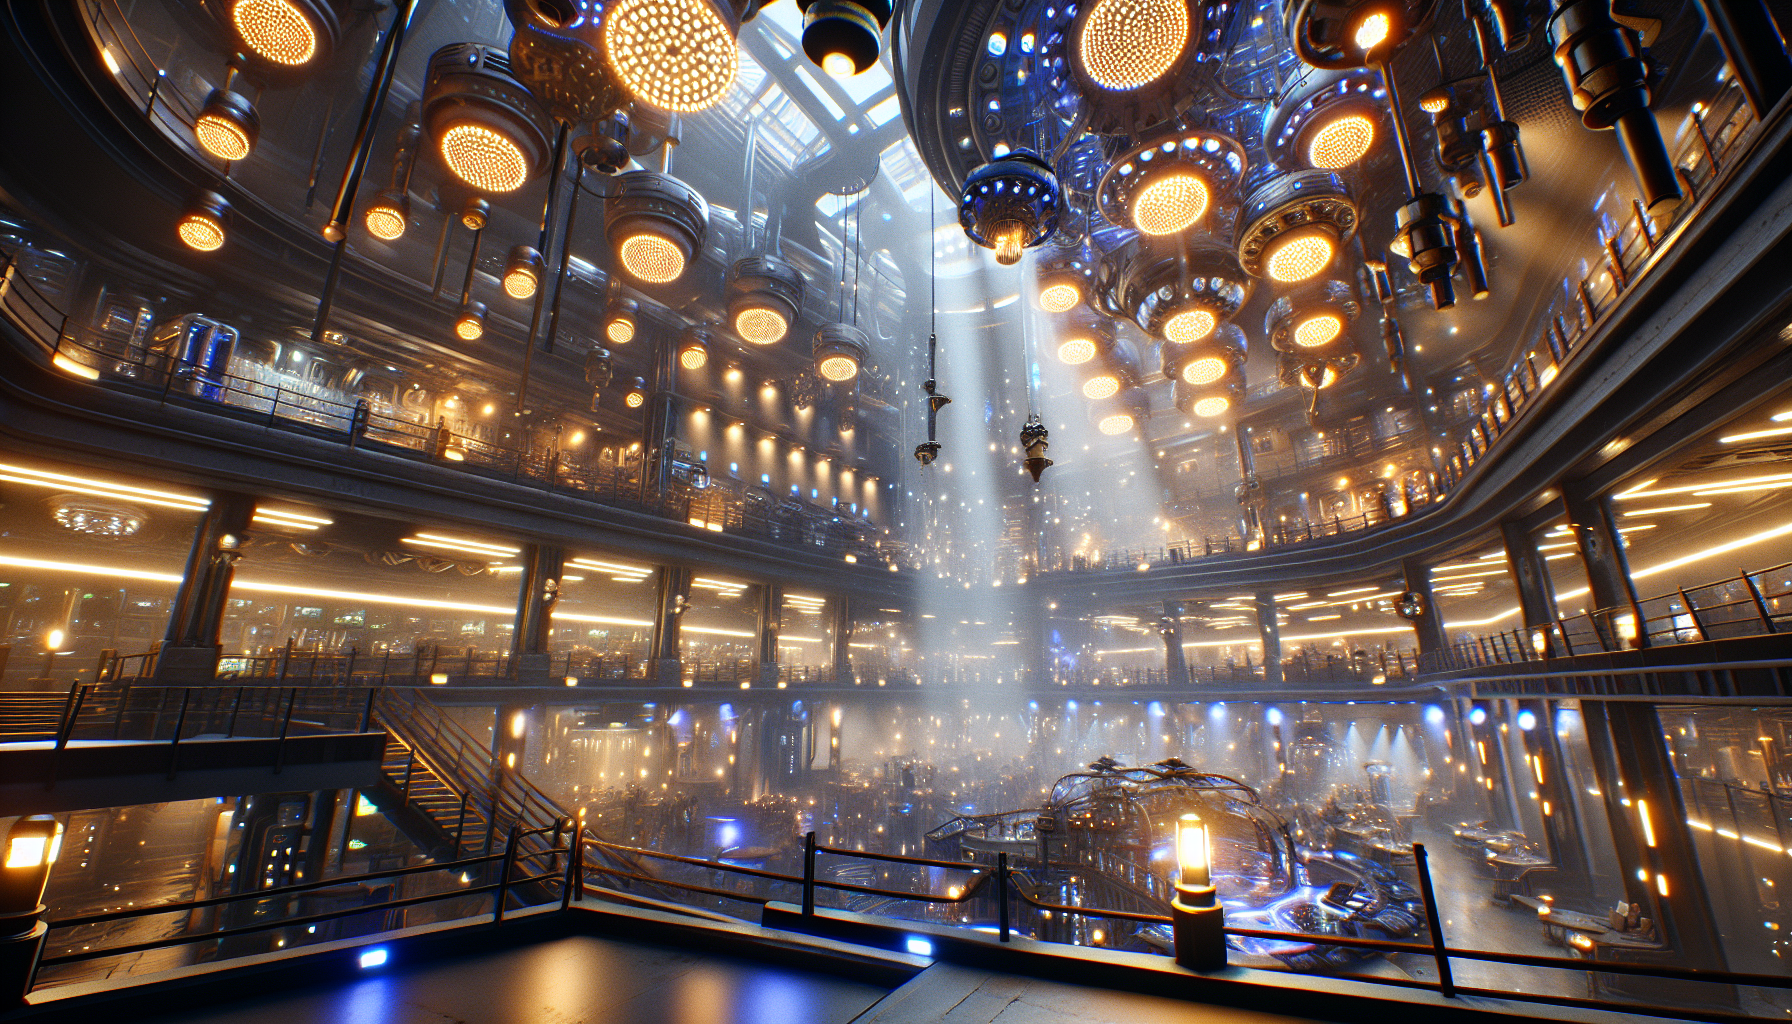
- Complex Indoor Environments: Thriving in settings with multiple light sources, like a bustling nightclub or an intricately lit spaceship, Deferred Rendering illuminates each corner with precision.
- High-End Gaming and Simulations: If you’re developing for platforms where power isn’t a concern, let the Deferred Renderer flex its muscles.
- Scenes Rich in Effects: Utilize this renderer when your scene demands high-quality effects, such as volumetric fog, detailed shadows, and more.
Tips for Mastering Deferred Rendering
- Manage Your Light Sources: While Deferred Rendering can handle many lights, each one still comes at a cost. Optimize light usage to maintain performance.
- Utilize Post-Processing Wisely: Deferred Rendering pairs well with sophisticated post-processing effects. Use this to enhance the visual quality further without overloading your scene.
- Profile Often: Regularly check your scene’s performance across different systems to ensure it runs smoothly without taxing any particular system excessively.
Conclusion: Embrace the Power of Deferred Rendering!
The Deferred Renderer in Unreal Engine 5 is not just a tool; it’s a gateway to creating visually stunning and immersive experiences that captivate and engage. By harnessing its capabilities, you open up a realm of possibilities where every light and shadow contributes to the narrative you wish to tell. So, equip your project with the Deferred Renderer and watch as your digital worlds come to life with unmatched vibrancy and depth—just be ready for the oohs and aahs that will inevitably follow!
