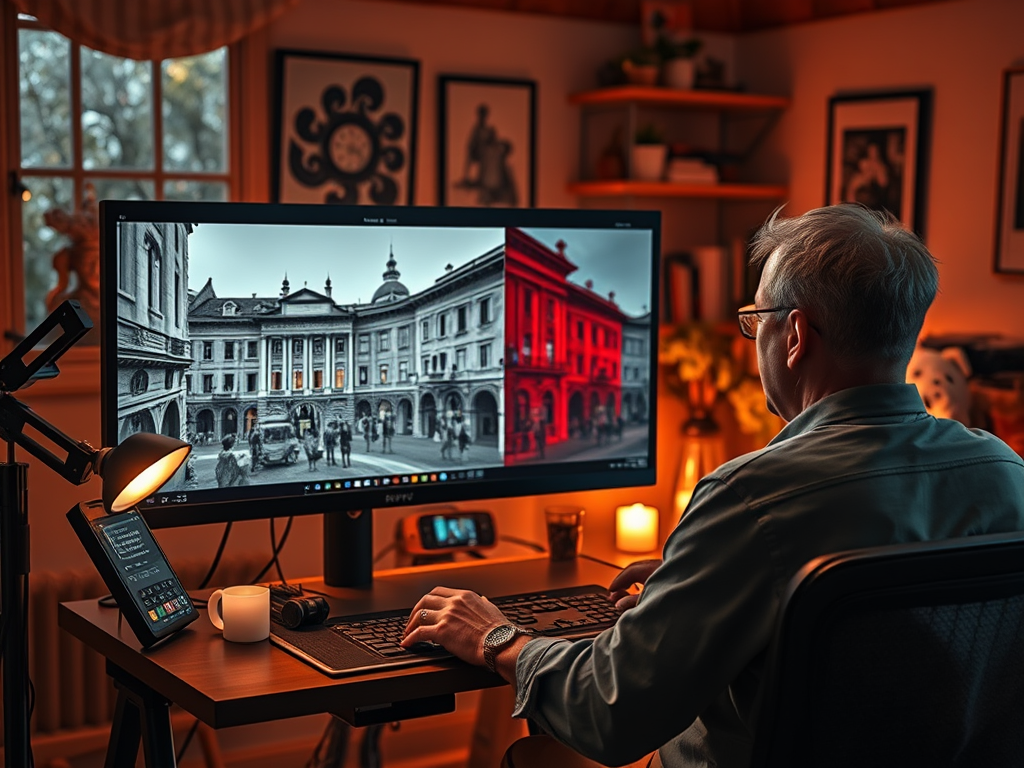
Colorizing black-and-white photos is a captivating way to bring history to life or add a creative twist to timeless images. With ComfyUI, you can use tools like ControlNet, LoRAs, and custom workflows to guide the process and achieve vibrant, realistic results.
This guide walks you through setting up a workflow for photo colorization and dives into the distinctions between Canny (edge detection) and Depth Maps—two powerful tools for maintaining structure and realism. We’ll also explore whether combining these methods can yield even better results.
Why Use ComfyUI for Colorization?
ComfyUI is uniquely suited to photo colorization because of its flexibility:
- Preserve Structure: Tools like ControlNet ensure the original composition and details remain intact.
- Add Style: LoRAs and text prompts enable artistic flair while keeping realism.
- Iterate Easily: Adjust individual elements without starting from scratch.
Canny vs. Depth Maps: Which to Use and When
Both Canny edge detection and depth maps help preserve the structure of your input image, but they do so in different ways. Let’s break down their strengths, differences, and when to use each.
Canny (Edge Detection)
Canny edge detection creates an outline of your image by identifying significant edges. It’s especially useful for:
- Preserving Linework: Ideal for sketches, architectural designs, or images with clear contours.
- Guiding Style Transfer: Helps maintain the structure while applying artistic effects.
Use Cases:
- Photos with strong outlines or clear boundaries (e.g., portraits, line art).
- When applying stylized effects that rely on structural integrity.
Benefits:
- Sharpens details, making the final output crisp.
- Enhances the definition of features like facial outlines or intricate patterns.
Depth Maps
Depth maps encode spatial information, showing how far objects are from the camera. This allows the AI to understand and respect the image’s perspective and three-dimensionality.
-
Use Cases:
- Images with complex spatial arrangements (e.g., landscapes, group photos).
- When depth consistency is essential for realism.
-
Benefits:
- Adds dimensionality, ensuring that colorization respects the original image’s lighting and depth.
- Produces realistic shading and perspective effects.
Can You Combine Canny and Depth Maps?
Yes! Combining both methods can lead to exceptional results:
-
Canny for Precision: Ensures edges and outlines are well-defined.
-
Depth for Realism: Adds accurate spatial and lighting cues.
-
Workflow Tip:
- Use separate ControlNet nodes for each map, connecting both to your workflow.
- Balance their strengths by adjusting the weights or strengths in ControlNet settings.
-
Use Case
- A historical portrait with intricate lace details (Canny) and realistic depth cues for the subject’s face and surroundings (Depth Map).
Setting Up a Workflow for Colorization
Step 1: Load the Base Model
- Choose a model suited for colorization, like Stable Diffusion v1.5 or SDXL.
- Place the model file in ComfyUI/models/checkpoints.
- Add a
Load Checkpointnode and select your model.
Step 2: Load the Input Image
- Use a
Load Imagenode to upload your black-and-white photo. - Connect it to the next nodes in the workflow.
Step 3: Add ControlNet Nodes
- Use a ControlNet Canny Node:
- Add a
Canny Edge Detectorto extract outlines from your input image. - Adjust thresholds to balance detail and simplicity.
- Add a
- Use a ControlNet Depth Node:
- Generate a depth map using a tool like MiDaS or integrate a
Depth Map Loadernode.
- Generate a depth map using a tool like MiDaS or integrate a
- Connect both ControlNet nodes to your workflow for enhanced guidance.
Tip: Start with moderate weights (e.g., 0.6–0.8) for each ControlNet node and adjust based on your results.
Step 4: Add a Text Prompt
A descriptive text prompt can guide the AI’s color choices:
- Example
A natural colorized portrait of a woman in the 1950s, realistic skin tones, warm lighting, pastel clothing. - Use a
CLIP Text Encodenode to integrate the prompt into your workflow.
Step 5: Configure the KSampler
- Add a
KSamplernode to control image generation. - Key settings:
- Sampling Steps: 20–50 for optimal balance.
- CFG Scale: Start at 7–10 for adherence to your prompt and ControlNet guidance.
- Denoising Strength: 0.5–0.7 for a balance between structure and creative freedom.
Step 6: Apply Style LoRAs (Optional)
For aesthetic enhancements:
- Add a
LoRA Loadernode. - Select a style LoRA (e.g., vintage tones, watercolor).
- Adjust the weight (0.8–1.2) to blend the LoRA’s effect seamlessly.
Step 7: Save the Output
- Add a
Save Imagenode to export your colorized photo. - Connect it to the
KSampleroutput.
Tips and Tricks for Effective Colorization
- Start Simple Use just one ControlNet method (Canny or Depth) before combining both for advanced results.
- Tweak ControlNet Strengths Balance the contributions of Canny and Depth nodes by adjusting their weights.
- Leverage Batch Processing If you’re working on multiple images, batch-process variations with different settings.
- Iterate with LoRAs Stack a natural color LoRA with a vintage style LoRA to blend realism and artistry.
- Use Image Grids Compare outputs with varying weights and ControlNet configurations side by side.
Example Workflows
- Basic Colorization Workflow
- Nodes: Load Checkpoint → Load Image → ControlNet (Canny) → CLIP Text Encode → KSampler → Save Image.
- Advanced Workflow with Combined ControlNet
- Nodes: Load Checkpoint → Load Image → ControlNet (Canny) → ControlNet (Depth) → LoRA Loader → CLIP Text Encode → KSampler → Save Image.
Final Thoughts: Combining Structure and Creativity
By using tools like Canny edge detection and depth maps, you can preserve the integrity of your input image while guiding the AI to add vibrant, realistic colors. Combining these methods lets you achieve the perfect balance of precision and dimensionality.
So, fire up ComfyUI, experiment with Canny and Depth maps, and start transforming black-and-white photos into timeless, full-color masterpieces.
